

Introduction
Your customers want parts that are lighter, stronger, and more customized than ever—delivered faster and at lower cost. From point-of-sale hooks and appliance racks to precision medical springs and EV battery retainers, variability is exploding while batch sizes shrink. If your bending cells still rely on manual setups or legacy cams, you’re leaving money (and market share) on the table. This long-form guide explains how Wire Forming Equipment enables true mass customization: what it is, why it matters, how to select and run it, and where each technology fits. You’ll leave with a practical checklist, maintenance and ROI models, and buying criteria that match both informational and commercial search intent.
Why: Customization is the New Default
Demand variability: E-commerce and brand refresh cycles shorten product lifetimes. SKU counts climb; runs get smaller.
Functional complexity: Parts must integrate clips, threads, hooks, spring features, and consistent surface quality, often in one pass.
Quality and traceability: OEMs require tighter tolerances, Cp/Cpk evidence, and full lot traceability—even on commodity forms.
Lead-time pressure: Customers expect days, not weeks. Long tool-room queues don’t scale.
Wire Forming Equipment—especially modern CNC platforms with closed-loop control—turns these pressures into competitive advantage by compressing changeover time, digitizing quality, and enabling repeatable precision across diverse geometries.
What: Defining Wire Forming Equipment
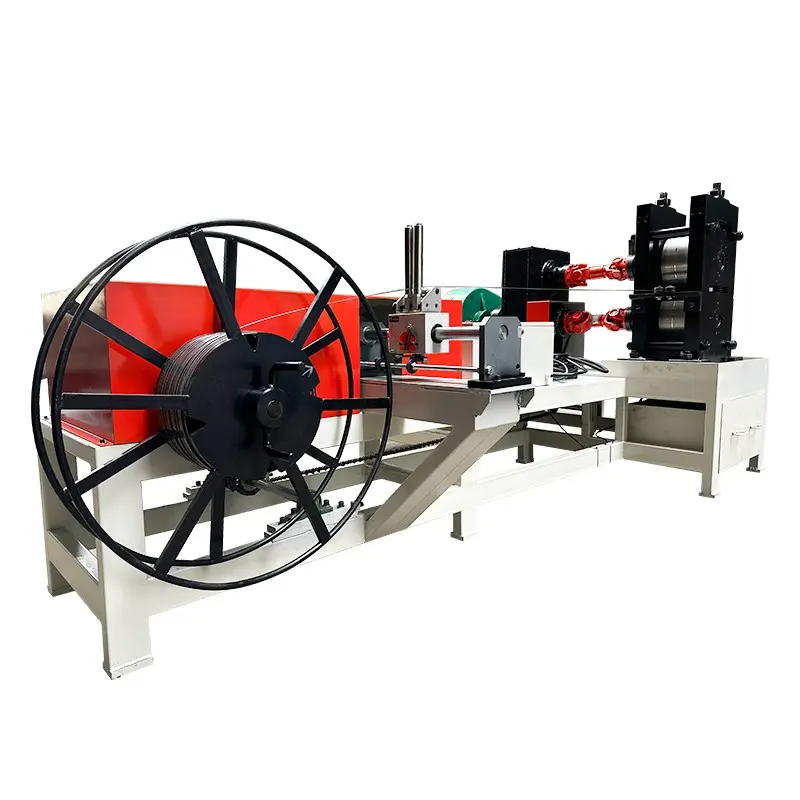
Wire Forming Equipment is a family of machines that straighten wire from coil, feed it at controlled speed, and bend/form it into 2D or 3D shapes; many systems also cut, chamfer, flatten, weld, or thread in one integrated line.
Core Subsystems
Payoff/Decoiler: Controls back-tension; may include dancer arms and brakes to stabilize feed.
Straightening module: Roller banks (vertical/horizontal) or rotary straighteners that neutralize coil set.
Servo feed: Encoder-driven pinch rolls deliver micron-level length control.
-
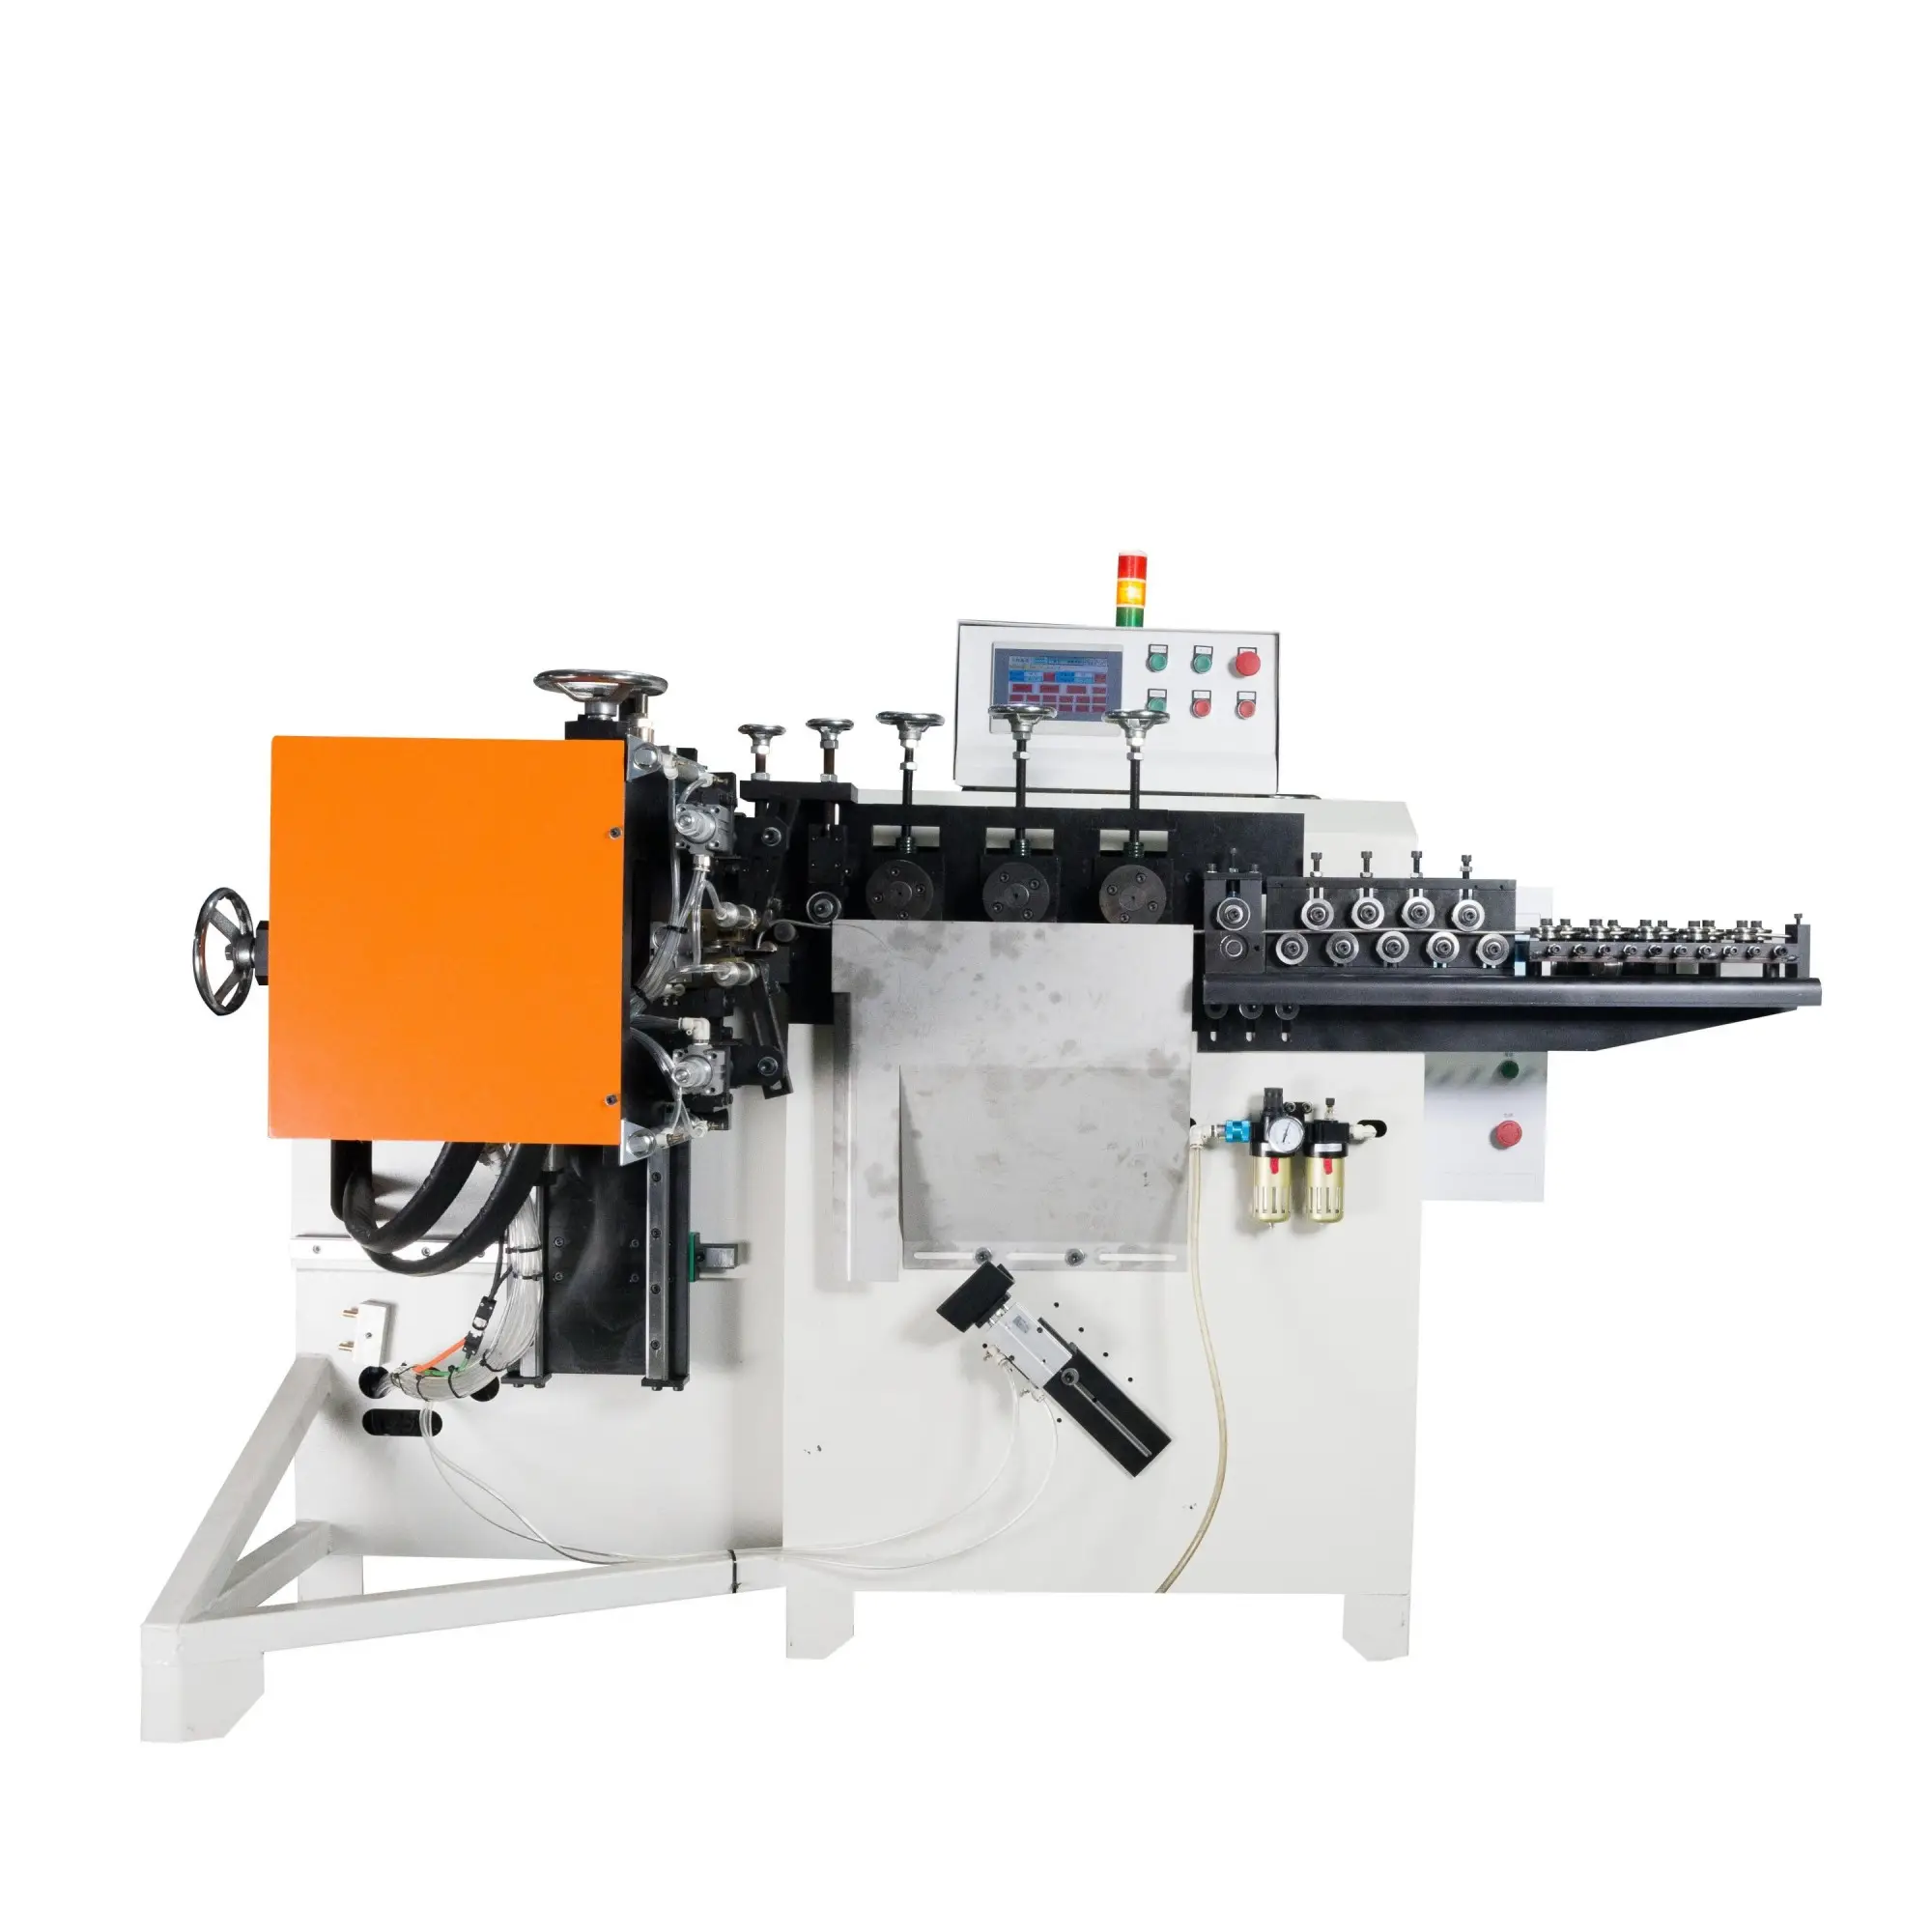
Forming head:
2D CNC wire bender (X/Y plane with rotating tool plate)
3D CNC wire former (adds Z rotation/tilt or multi-axis head)
Multi-slide/4-slide (mechanical or servo slides strike forms from multiple directions)
Spring coiler (dedicated to compression/extension/torsion springs)
Secondary ops: Cutoff (flying shear/rotary), end-forming (flatten, coin, chamfer), resistance welding, threading, tapping, nut insertion.
Controls & software: HMI/PLC, offline programming (DXF import, parametric libraries), recipe management, SPC logging, and Industry 4.0 connectivity (OPC UA/MQTT).
Inspection: Laser micrometers, vision cameras, force/torque sensing for closed-loop bending angle correction.
Typical Materials & Ranges
Low carbon steel, stainless (304/316), music wire, aluminum, copper/brass, titanium.
Diameter ranges commonly 0.5–12 mm (fine wire to rod); heavy-duty benders extend beyond 12 mm with appropriate tonnage and tooling.
How: From Coil to Finished Form
Below is a robust, production-ready method you can adapt to most platforms.
1) Pre-production Planning
Define CTQs (Critical-to-Quality): Bend angles, leg lengths, perpendicularity, free length (springs), surface finish, spring rate.
Choose process path: 2D vs. 3D CNC vs. multi-slide; decide which secondary ops must be in-line vs. offline.
Build digital recipe: Material, diameter, feed speeds, bend radii, clamp forces, blade offsets, vision/laser thresholds.
Tooling readiness: Stock standard mandrels, support pins, inserts, and quick-change fixtures; store by diameter/radius family.
2) Machine Setup & Changeover (SMED-oriented)
Straightener zeroing: Set roller penetration symmetrically; validate with a 1–2 m feed test on a granite table or laser line.
Tool plate & mandrels: Install pre-staged kits for the target geometry; use torque specs to avoid drift.
Encoder calibration: Feed a certified length bar; adjust scale factor until Cpk on length ≥ 1.33.
Recipe recall: Load the last golden setup; verify camera/laser references.
3) First-Article Validation
Produce 10–30 parts at nominal speed.
Measure bend angles with a digital protractor or vision overlay; check length, diagonals, and hole/slot positions if end-forming is used.
Record offset matrix (angle/length corrections). Push corrections back to the CNC as a recipe revision, not a one-off tweak.
4) Stable Production
Use closed-loop angle correction (vision/laser) if available; hold steady-state scrap under 1–2% for general forms, tighter for precision.
Apply adaptive feed for soft alloys to limit overbending.
SPC sampling: Every 30–60 minutes check a short list of CTQs. Trend charts catch drift early.
5) Post-processing & Packaging
Deburr/deflash if needed.
Coating or passivation (Zn, powder coat, e-coat, or stainless passivation).
Kitting & labeling with barcode/QR for traceability.
Equipment Options: Where Each Shines
CNC 2D Wire Bender
Best for: Flat geometries (racks, frames, hooks) with high part variety.
Pros:
Fast changeovers; minimal tooling.
Excellent for short-to-medium runs.
Easy offline programming from DXF.
Cons:Complex 3D forms require re-clamping or fixtures.
May need secondary ops for multi-plane geometry.
CNC 3D Wire Former
Best for: Spatial forms (automotive seats, medical components, cable guides).
Pros:
Multi-axis flexibility; fewer re-clamps.
Reduced fixtures and touch labor.
Cons:Higher capex; programming skillset required.
Slightly longer cycle time on very simple 2D parts.
Multi-slide / 4-slide (Mechanical or Servo)
Best for: Very high volumes of repeat parts with forms from multiple directions.
Pros:
Extremely fast cycle times once dialed in.
Integrates stamping/tapping easily.
Cons:Long setup; cam tooling cost.
Poor fit for frequent design changes unless upgraded to servo slides.
Spring Coilers (Compression/Extension/Torsion)
Best for: Springs with tight rate tolerances and high repeatability.
Pros:
Dedicated controls for index, pitch, rate.
Inline stress relieving options.
Cons:Narrow focus; not for general wire forms.
Pros & Cons: Drive and Control Technologies
Servo-Driven (Modern CNC)
Pros: Programmable, repeatable, quick changeover, easy data capture, closed-loop correction.
Cons: Higher purchase price; needs trained programmers.
Cam/Pneumatic
Pros: Lower initial cost; robust for a fixed part.
Cons: Painful changeovers; higher variability; limited data/traceability.
Deep Setup Tips that Separate Top-Quartile Plants
Radius strategy: For stainless and spring steels, plan overbend compensation (springback) per material/diameter; keep a table and refine it by SPC.
Tooling finish: Polish contact surfaces (Ra per OEM) to reduce scoring on Cu/Al; consider coated rollers for soft alloys.
Thermal stability: Long runs can shift angles as the head warms. Use warm-up parts or dynamic correction based on temperature tags near the forming head.
End-forming control: For flatten/chamfer, control material pushback with dwell timing; too much dwell increases burrs.
Vision libraries: Save OK/NOK templates by part number; lock by revision to keep inspectors aligned with engineering.
Quality: How to Measure What Matters
Bend angle tolerance: Set by function; ±0.5–1.0° is common for general metalwork; precision assemblies may target ±0.25°.
Length and leg symmetry: Use laser micrometers for continuous parts; handheld gauges for quick checks.
Spring metrics: Spring index (D/d), free length, rate (N/mm), and load at working length.
Surface integrity: Scratches and die marks cause coating defects and field failures—log them like dimensional defects.
Capability targets: Aim for Cpk ≥ 1.33 on critical dimensions; ≥1.67 for safety-critical.
Maintenance: Keep OEE High
Daily: Clean rollers and guides; check lube levels; wipe optics; quick angle/length sanity checks.
Weekly: Inspect roller wear, encoder couplings, clamp pads, and blade edges.
Monthly: Verify straightener runout, re-level machine if floor shifts, back up PLC/HMI recipes.
Annually: Replace bearings as condition dictates; proof-test safety circuits; recalibrate vision/laser sensors.
Spare kit: Roller sets for top three diameters, blades, bearings, encoders, belts, clamp pads, and common sensors. Use min-max planning and barcode control.
Cost & ROI: A Simple Model You Can Reuse
Inputs (example):
Current manual/cam line: 25 s/part, scrap 5%, changeover 120 min, 8 changeovers/week.
CNC 3D former: 12 s/part, scrap 1.5%, changeover 20 min.
Parts/week: 20,000; burdened labor $35/h; machine cost $180k.
Savings:
Cycle time: (25–12)s × 20,000 = 260,000 s ≈ 72.2 h/week → labor savings ≈ $2,527/week.
Scrap: 5%→1.5% on $6.00 material per part → 3.5% × 20,000 × $6 = $4,200/week.
Changeover: (120–20) min × 8 = 800 min = 13.3 h × $35 = $466/week.
Total weekly impact: ≈ $7,193 → Payback ≈ 25 weeks before tax incentives or overtime reduction. Adjust with your numbers to build a business case.
Buyer’s Checklist: Matching Equipment to Need
-
Part portfolio
2D vs 3D? Min/max wire diameters? Surface quality expectations?
-
Throughput & flexibility
Peak parts per minute; typical batch size; changeovers/day.
-
Integrated ops
Do you need inline welding, threading, or marking?
-
Precision & inspection
Built-in laser/vision? Closed-loop angle correction?
-
Software
Offline programming, DXF import, parametric families, revision control.
-
Connectivity
OPC UA/MQTT for MES/ERP? Data logging and SPC export?
-
Ergonomics & safety
Guarding, light curtains, e-stops, coil handling aids.
-
Service & spares
Local technicians, response SLAs, spare kit lead times.
-
Total cost of ownership
Energy use, consumables, wear parts, training time.
Use Cases & Mini Case Studies
Retail display hooks: 2D CNC bender with inline cutoff produced 1200 pcs/h across 12 SKU variants with <20 min changeovers—ideal for seasonal demand spikes.
Automotive seat frames: 3D CNC former reduced weld fixtures by 30% and eliminated two offline bends; angle Cpk improved from 1.1 to 1.7.
Appliance baskets: Multi-slide achieved sub-second cycles on a stable design; servo slides added for small geometry tweaks without new cams.
Medical spring guides: Precision coiler with vision rate control held ±0.25° bend repeatability and maintained batch traceability for audits.
Common Pitfalls (and How to Avoid Them)
Ignoring straightener setup: Coil set left in the wire forces angle drift; always re-zero and validate with a sample length test.
Over-tight clamps: Crush marks ruin coating adherence; match clamp pressures to material hardness.
One-off tweaks not saved: If you don’t update the recipe, you’ll repeat mistakes after every changeover.
Under-spec’d inspection: A single go/no-go gauge won’t capture bend and leg variability; add at least a basic vision overlay or laser length check.
SEO-Aligned FAQs for “Wire Forming Equipment”
Q1: 2D vs 3D wire forming—how do I choose?
If your parts are mostly planar with modest complexity, start with 2D. Move to 3D for spatial forms, reduced fixtures, and fewer re-clamps.
Q2: What diameter range can one machine cover?
Most cover a 3–4× range (e.g., 2–8 mm). Beyond that, stiffness and tool reach make a second machine or changeover kit more efficient.
Q3: Can I integrate welding or threading inline?
Yes—many lines add resistance welding, nut insertion, tapping, and marking. Verify cycle synchronization and power availability.
Q4: How do I ensure repeatability across shifts?
Lock recipes, instrument the cell (laser/vision), train operators on first-article checks, and track SPC. Aim for Cpk ≥ 1.33 on CTQs.
Q5: Is multi-slide obsolete?
Not at all. For ultra-high volumes of stable parts, multi-slide remains a cycle-time champion—especially with servo slides for micro-adjustment.
Conclusion
Customization isn’t a buzzword—it’s your next purchase order. Wire Forming Equipment gives manufacturers the agility to profit from short runs and complex shapes without sacrificing precision or OEE. Choose the platform that fits your geometry and volumes, institutionalize setup discipline and SPC, and connect your cell for data-driven control. Do that, and you’ll deliver diverse parts faster, at lower cost, with the quality modern markets demand.
Table of Contents
- Introduction
- Why: Customization is the New Default
- What: Defining Wire Forming Equipment
- How: From Coil to Finished Form
- Equipment Options: Where Each Shines
- Pros & Cons: Drive and Control Technologies
- Deep Setup Tips that Separate Top-Quartile Plants
- Quality: How to Measure What Matters
- Maintenance: Keep OEE High
- Cost & ROI: A Simple Model You Can Reuse
- Buyer’s Checklist: Matching Equipment to Need
- Use Cases & Mini Case Studies
- Common Pitfalls (and How to Avoid Them)
- SEO-Aligned FAQs for “Wire Forming Equipment”
- Conclusion